Learning how to make a quilt for beginners may seem overwhelming at first, but the truth is quilting can be simple, relaxing, and incredibly rewarding. You don’t need expensive tools or years of sewing experience to create your first quilt. With the right guidance and a step-by-step approach, anyone can make a beautiful quilt from start to finish.
This complete beginner’s guide will walk you through every stage of quilting—from choosing fabric to finishing your quilt—so you can confidently create your very first project.
What Is Quilting?
Quilting is the process of sewing together three layers:
- The quilt top (decorative fabric)
- The batting (inner layer for warmth)
- The backing fabric
These layers are stitched together to create a finished quilt that can be used as a blanket, wall hanging, or home décor item.
Quilting has deep roots in American craft culture and remains one of the most popular DIY textile arts today.
Quilting Tools You Need as a Beginner
You don’t need a fully stocked sewing room to get started. Here are the basic quilting supplies for beginners:
Essential Tools
- Cotton quilting fabric
- Rotary cutter or fabric scissors
- Cutting mat
- Acrylic ruler
- Sewing machine (or needle for hand quilting)
- Thread (100% cotton recommended)
- Pins or fabric clips
- Iron and ironing board
Beginner tip: Start simple. You can always upgrade tools later.
Choosing Fabric for Your First Quilt
Fabric choice plays a huge role in how easy your first quilt will be.
Best Fabrics for Beginners
- 100% cotton fabric
- Pre-cut fabric bundles (charm packs or jelly rolls)
- Light to medium colors to see stitches easily
Avoid as a Beginner
- Stretchy fabrics
- Silk or satin
- Very dark fabrics that make mistakes harder to see
Stick with quilting cotton—it’s forgiving and beginner-friendly.
Understanding Basic Quilt Sizes
Before cutting fabric, decide what size quilt you want.
Common Beginner Quilt Sizes
- Baby quilt: 36” x 36”
- Lap quilt: 50” x 60”
- Throw quilt: 60” x 70”
For your first quilt, a lap quilt or baby quilt is ideal.
Step 1: Cutting Your Fabric
Accuracy matters in quilting, but perfection is not required.
How to Cut Fabric for Beginners
- Press fabric with an iron
- Use a ruler and rotary cutter
- Cut uniform squares or rectangles
Beginner-friendly sizes include 5-inch or 10-inch squares.
Pre-cut fabric packs save time and reduce cutting errors.
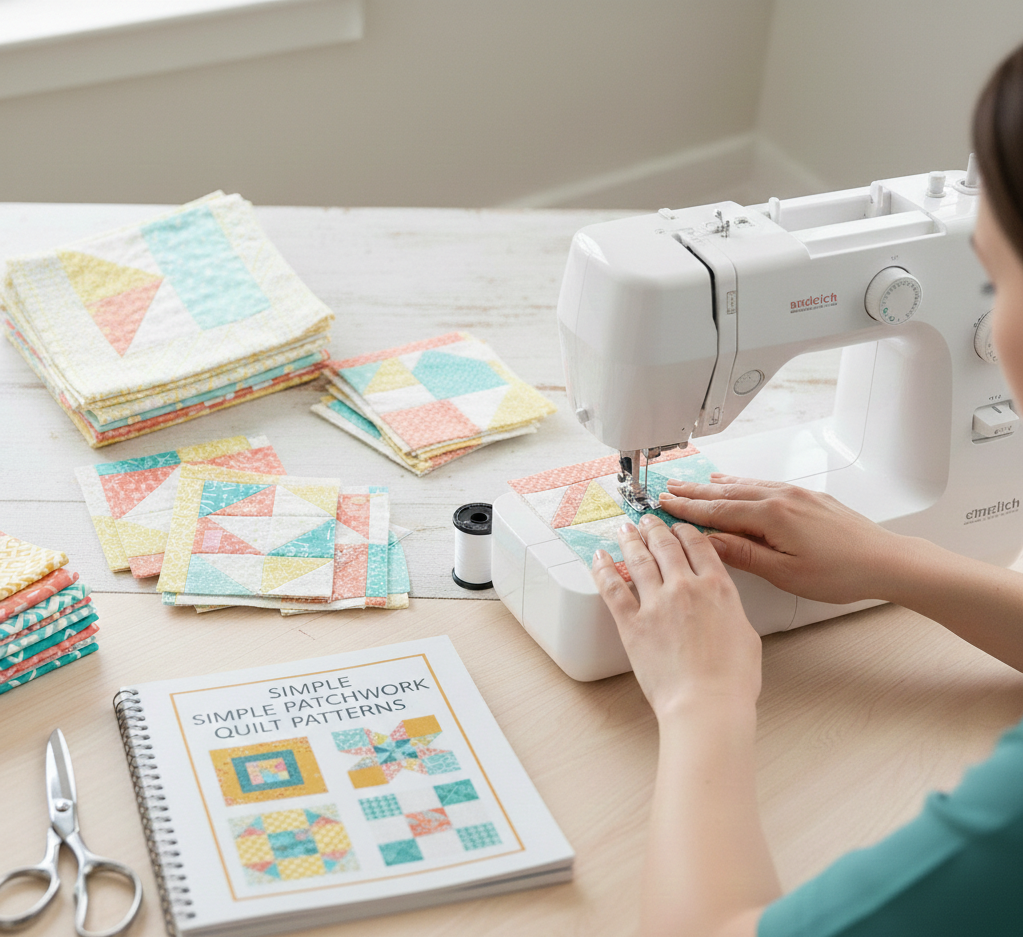
Step 2: Creating the Quilt Top
The quilt top is the decorative front of your quilt.
Easy Quilt Layout for Beginners
- Simple patchwork grid
- No complex blocks
- Straight seams only
Sewing the Quilt Top
- Sew fabric pieces into rows
- Press seams flat
- Join rows together
Take your time—this step builds the foundation of your quilt.
Step 3: Pressing Seams Correctly
Pressing is just as important as sewing.
Pressing Tips
- Press seams, don’t slide the iron
- Press seams open or to one side consistently
- Press after every few seams
Good pressing helps your quilt lie flat and look professional.
Step 4: Making the Quilt Sandwich
The quilt sandwich layers everything together.
Layer Order (Bottom to Top)
- Backing fabric (wrong side up)
- Batting
- Quilt top (right side up)
Smooth each layer carefully to avoid wrinkles.
Step 5: Basting the Quilt
Basting holds the layers together while quilting.
Beginner Basting Methods
- Safety pins (most popular)
- Spray basting
- Hand basting with large stitches
Pin every 4–6 inches to keep layers stable.
Step 6: Quilting the Layers Together
This is where your quilt truly comes to life.
Easy Quilting Methods for Beginners
- Straight-line quilting
- Stitch-in-the-ditch
- Grid quilting
If available, use a walking foot to help feed layers evenly.
Step 7: Trimming the Quilt
After quilting, trim the edges so everything is even.
- Use a ruler and rotary cutter
- Square all four corners
- Take small cuts for accuracy
This step prepares your quilt for binding.
Step 8: Binding the Quilt
Binding finishes the raw edges of your quilt.
Beginner Binding Method
- Cut binding strips
- Sew strips together
- Attach binding to the front
- Fold to the back and stitch
Binding takes practice, and imperfections are completely normal.
Common Beginner Quilting Mistakes (And How to Avoid Them)
Many beginners make the same mistakes:
- Skipping pressing
- Not checking seam allowance
- Using low-quality thread
- Rushing the process
Quilting rewards patience and consistency.
Easy Quilt Ideas for Beginners
Once you finish your first quilt, try these beginner projects:
- Patchwork throw quilt
- Baby quilt
- Table runner
- Wall hanging
- Quilted pillow cover
Each project builds confidence and skills.
How Long Does It Take to Make a Quilt?
For beginners:
- Simple quilt: 1–2 weekends
- More detailed quilt: several weeks
Quilting is not about speed—it’s about enjoyment.
Final Thoughts
Learning how to make a quilt for beginners is a journey, not a race. Your first quilt won’t be perfect—and it doesn’t need to be. Every stitch you sew teaches you something new.
With simple tools, easy patterns, and patience, you can create a quilt you’ll be proud of—and maybe even start a lifelong creative passion.