

You’ve learned the basics of sewing – straight stitches, maybe a few curves – and now you’re ready for your first real project. A simple fabric pouch is the perfect choice. It’s practical, cute, makes a great gift, and teaches you essential sewing skills without being overwhelming.
In fact, fabric pouches are so quick to make that you can complete one in 30-45 minutes once you get the hang of it. They’re also incredibly useful: makeup bags, pencil cases, toiletry pouches, travel organizers, gift packaging – the possibilities are endless.
In this comprehensive tutorial, we’ll walk you through every step of making a simple zippered fabric pouch. We’ll cover what supplies you need, how to prepare your fabric, how to install a zipper (don’t worry, it’s easier than you think!), and how to finish your pouch with a professional look.
Whether you’re a complete beginner or someone who’s made a few simple projects, this guide will give you the confidence to create a beautiful, functional fabric pouch that you’ll be proud to use or gift.
Why Start with a Fabric Pouch?
Before we dive into the tutorial, let’s talk about why pouches are such excellent beginner projects.
Perfect for Learning:
- Uses basic straight stitching (nothing complicated)
- Teaches you how to sew a zipper (valuable skill!)
- Involves pressing seams (essential sewing technique)
- Shows you how to work with small pieces (easier than large projects)
- Quick to finish (instant gratification!)
Incredibly Practical:
- Organize makeup, jewelry, crafts, toiletries, tech cables
- Perfect handmade gifts
- Great for using up fabric scraps
- Can make multiple sizes for different needs
Budget-Friendly:
- Requires minimal fabric (often just scraps!)
- One zipper (under $2)
- Basic thread
- Total cost: $3-10 per pouch
According to experienced sewists, zippered pouches are among the best craft fair items because they’re quick, easy, pretty, and functional. Once you master the technique, you can make these in just 15-20 minutes each!
What You’ll Need
Materials
Fabric:
- 2 pieces for outer fabric: 7.5″ x 5.5″ each (or your desired size)
- 2 pieces for lining fabric: 7.5″ x 5.5″ each (same size as outer)
- Optional: 2 small pieces for zipper tabs: 1″ x 2″ each
Best fabrics for beginners:
- Quilting weight cotton (easiest to work with)
- Cotton canvas (adds structure)
- Denim (sturdy and structured)
- Linen (natural texture, slightly more advanced)
Avoid: Very stretchy fabrics, slippery fabrics like silk, or very thick upholstery fabrics for your first pouch.
Zipper:
- 7-9 inch nylon zipper (plastic zipper, not metal)
- Choose a color that coordinates with your fabric
- Nylon zippers are easier for beginners than metal
Interfacing (Optional but Recommended):
- Fusible fleece or medium-weight fusible interfacing
- Same size as your outer fabric pieces
- Adds body and structure to your pouch
Thread:
- All-purpose thread matching your fabric
- Contrasting thread for topstitching (optional but looks nice)
Tools
- Sewing machine with zipper foot (or regular presser foot)
- Fabric scissors
- Pins or sewing clips
- Iron and ironing board
- Ruler or measuring tape
- Fabric marking pen or chalk
- Seam ripper (for mistakes – everyone makes them!)
- Point turner or chopstick (for pushing out corners)
Total Cost: $5-15
- Fabric scraps: Often free or $2-5
- Zipper: $1-3
- Interfacing: $2-5
- Thread: $3-5 (but you’ll use only a small amount)
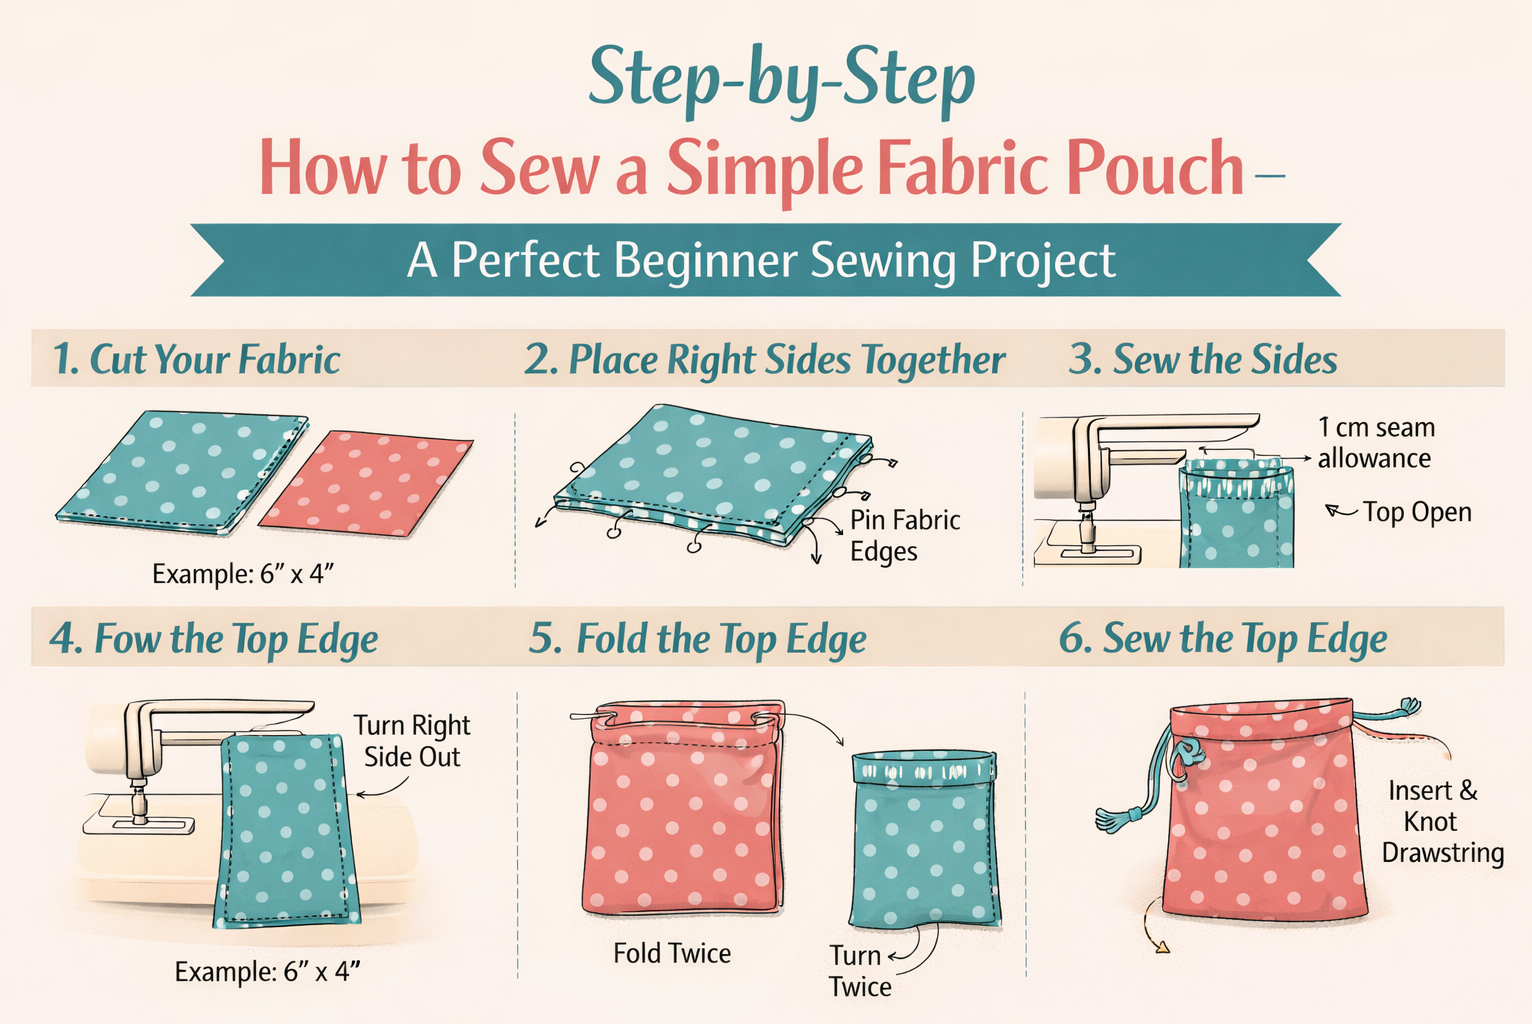
Step-by-Step Instructions
Step 1: Cut Your Fabric
Start by cutting all your fabric pieces to size. Accuracy here makes everything easier later.
Standard beginner size:
- Outer fabric: 2 pieces at 7.5″ wide x 5.5″ tall
- Lining fabric: 2 pieces at 7.5″ wide x 5.5″ tall
- Zipper tabs (optional): 2 pieces at 1″ wide x 2″ tall
Important tips:
- Cut your fabric with sharp scissors or a rotary cutter
- Make sure edges are straight (use a ruler!)
- If using directional prints, make sure they’re oriented correctly
Note about sizing: This tutorial makes a pouch approximately 7″ wide x 5″ tall. You can adjust measurements to make any size you want – just make sure your zipper is at least as long as the width of your fabric pieces.
If using interfacing:
- Cut interfacing pieces the same size as outer fabric pieces
- Follow manufacturer instructions to fuse interfacing to WRONG side of outer fabric
- Let cool completely before continuing
Step 2: Prepare Zipper Tabs (Optional)
Zipper tabs give your pouch a professional, polished look and prevent the zipper from extending all the way to the edges.
How to make zipper tabs:
- Take one 1″ x 2″ fabric piece
- Fold in half lengthwise (so it’s 1″ x 1″), wrong sides together, and press
- Open up the fold
- Fold both long raw edges in to meet the center crease, press
- Fold along the original center crease again, enclosing the raw edges, press
- You now have a narrow finished strip about 1/4″ wide
- Repeat for second tab
Attaching tabs to zipper:
- Cut off the metal or plastic stops at both ends of your zipper
- Slide one tab onto each end of the zipper
- Position tabs perpendicular to zipper (straight across, not crooked)
- Edgestitch across each tab to secure to zipper
If skipping tabs: That’s fine! Many pouches don’t have tabs. Just be aware the zipper will extend to the fabric edges.
Step 3: Attach Zipper to First Outer Fabric Piece
Now we’ll start attaching the zipper. This is the part that seems scary but is actually quite simple!
Instructions:
- Position the pieces:
- Lay one outer fabric piece RIGHT SIDE UP on your work surface
- Place zipper FACE DOWN on top, aligning the zipper tape edge with the top raw edge of fabric
- Make sure zipper is centered (equal fabric extending past zipper on each side if you used tabs)
- Add the lining:
- Place one lining piece RIGHT SIDE DOWN on top of the zipper
- You now have a sandwich: outer fabric (right side up), zipper (face down), lining (right side down)
- The zipper is sandwiched between the two fabric pieces
- Pin everything:
- Pin through all layers along the zipper edge
- Use sewing clips if you prefer (they work great on zippers!)
- Sew the zipper:
- Using a 1/4″ seam allowance, stitch along the zipper edge
- Sew slowly and carefully
- When you reach the zipper pull: Stop with needle down, lift presser foot, slide zipper pull to other side of needle, lower foot, continue sewing
- Backstitch at beginning and end
Tip: You don’t need a zipper foot for this! A regular presser foot works fine. If using a regular foot, just move the needle position all the way to the left so you sew close to the zipper teeth without hitting them.
Step 4: Press and Topstitch First Side
Pressing and topstitching are what make your pouch look professional.
Instructions:
- Open up the fabrics:
- Flip the outer fabric and lining away from the zipper so they’re both right side up
- Press the seam with your iron, pressing fabrics away from zipper
- Topstitch the outer fabric:
- Fold the lining out of the way
- Using a slightly longer stitch length (3.0-3.5), topstitch along the outer fabric about 1/8″ from the zipper
- This prevents fabric from getting caught in the zipper
- Do NOT topstitch the lining – leave it loose
Why topstitch?
- Keeps fabric from being caught in zipper when opening/closing
- Looks professional and finished
- Helps seam lie flat
Step 5: Attach Zipper to Second Outer Fabric Piece
Now repeat the process for the other side of the zipper.
Instructions:
- Position the pieces:
- Take your second outer fabric piece and place it RIGHT SIDE UP
- Lay the free edge of the zipper FACE DOWN on top, aligning edges
- Place second lining piece RIGHT SIDE DOWN on top
- Pin and sew:
- Pin all layers together
- Sew with 1/4″ seam allowance
- Remember to move the zipper pull when you reach it
- Press and topstitch:
- Open fabrics away from zipper
- Press seam
- Topstitch outer fabric only, 1/8″ from zipper
At this point: You should have your zipper sandwiched neatly between outer and lining fabrics on both sides. The outer pieces are topstitched, the lining pieces are not.
Step 6: Unzip the Zipper (IMPORTANT!)
This is the most important step to remember!
Before sewing the pouch together, UNZIP THE ZIPPER AT LEAST 3/4 OF THE WAY.
Why this matters: You’ll need to turn the pouch right side out through the zipper opening. If the zipper is closed, you can’t turn it!
Many beginners forget this step and end up having to rip out seams. Don’t let that be you!
Step 7: Arrange and Pin the Pouch
Now we’ll prepare to sew the pouch together.
Instructions:
- Arrange the fabrics:
- Bring the two outer fabric pieces together, right sides facing
- Bring the two lining pieces together, right sides facing
- The zipper will naturally fold in the middle
- Align and pin:
- Match up all raw edges
- Pin around all four sides
- Make sure the zipper is lying flat and not twisted
- Position zipper seam allowances:
- At each side where the zipper meets the fabric seam, fold the small seam allowances toward the lining side
- This ensures everything sits correctly when turned right side out
- Mark the turning gap:
- On one of the lining sides (bottom edge), mark a 3-4″ opening
- Do NOT sew this section – you’ll use it to turn the pouch right side out
Step 8: Sew the Pouch Together
Time to sew all the way around!
Instructions:
- Start sewing:
- Begin at one side of the turning gap you marked on the lining
- Using 1/2″ seam allowance, sew around the entire perimeter
- When you reach corners, pivot with needle down
- When sewing over zipper:
- Sew slowly and carefully
- The presser foot will “climb” over the zipper bulk
- If feed dogs struggle, gently pull fabric to help it along (don’t force it)
- Stop at the turning gap:
- End your stitching at the other side of the 3-4″ gap in the lining
- Backstitch at beginning and end
Result: You now have a completely sewn pouch with one opening in the lining.
Step 9: Trim Corners and Seams
This step ensures your corners will be sharp and your pouch won’t be bulky.
Instructions:
- Trim corners:
- Cut diagonally across each corner, about 1/4″ from stitching
- DON’T cut through your stitches!
- This removes bulk and allows corners to turn out sharply
- Clip curves (if any):
- If your pouch has curves, clip small notches into the curved seam allowances
- Not applicable to this basic rectangular pouch
- Optional – trim zipper:
- If you’re using a nylon zipper, you can trim off the excess zipper extending past the fabric
- ONLY do this with nylon zippers, NOT metal zippers
Step 10: Turn Right Side Out
The exciting moment when your pouch takes shape!
Instructions:
- Reach through the lining gap:
- Put your hand through the 3-4″ opening in the lining
- Grab the pouch and gently pull everything through the opening
- What happens:
- The outer fabric will turn right side out
- The lining will turn right side out
- Your zipper will be sandwiched between them, right where it belongs!
- Check your work:
- Make sure all seams are where they should be
- Check that the zipper opens and closes smoothly
Step 11: Close the Turning Gap
Almost done! Now we close that gap in the lining.
Instructions:
Method 1: Machine Stitch (Faster)
- Fold the raw edges of the gap inward, aligning them
- Pin closed
- Edgestitch (sew very close to folded edge)
- Backstitch at beginning and end
Method 2: Hand Stitch (Invisible)
- Fold raw edges inward
- Pin closed
- Use a slip stitch (or ladder stitch) to hand-sew the opening closed
- This creates an invisible seam
Either method works great! Machine stitching is faster, hand stitching is completely invisible. Choose based on your preference.
Step 12: Push Out Corners and Final Press
The final finishing touches make your pouch look professional.
Instructions:
- Push out corners:
- Use a point turner, chopstick (eraser end), or similar blunt tool
- Gently push into each corner from the inside
- Work the corner out until it’s sharp and crisp
- DON’T use scissors – they can poke through!
- Arrange the lining:
- Push the lining inside the pouch
- Make sure it sits flat and neat
- Final press:
- With your iron, press the entire pouch
- Pay special attention to the zipper edges and corners
- Use steam for best results
- This step makes a HUGE difference in how professional your pouch looks!
Step 13: Admire Your Work!
Congratulations – you’ve made your first zippered fabric pouch! 🎉
Open and close the zipper a few times to make sure it works smoothly. Fill it with your goodies or wrap it as a gift.
Customization Ideas
Once you’ve mastered the basic pouch, try these variations:
Size Variations:
- Tiny: 4″ x 3″ for coins or jewelry
- Small: 5″ x 4″ for makeup or cards
- Medium: 7″ x 5″ (the size we just made) for general use
- Large: 9″ x 7″ for toiletries or tech accessories
- Extra Large: 12″ x 9″ for tablets or travel
Add a Flat Bottom:
- After sewing sides together, pinch corners so side seam aligns with bottom seam
- Sew across the triangle that forms (usually 1-2 inches from corner)
- This creates a gusset, giving your pouch depth so it stands up
Patchwork Outer:
- Piece together fabric scraps to create the outer fabric pieces
- Use various coordinating fabrics for unique one-of-a-kind pouches
Add Embellishments:
- Embroider designs on outer fabric before assembling
- Add appliqué or fabric patches
- Use decorative topstitching in contrasting thread
- Attach ribbon, trim, or lace accents
Quilted Pouches:
- Layer batting between outer fabric and a backing fabric
- Quilt before cutting pouch pieces
- Creates puffy, structured pouches
Clear Vinyl Window:
- Replace one outer fabric piece with clear vinyl
- Great for pouches where you want to see contents (makeup, stationery)
Troubleshooting Common Problems
Problem: Zipper gets caught in fabric while opening/closing Solution: Make sure you topstitched close to the zipper. If you didn’t, carefully topstitch now (with pouch completed) to secure fabric away from zipper teeth.
Problem: Corners aren’t sharp Solution: Next time, trim corners closer (but not through stitching!) and use a point turner to really push them out.
Problem: Pouch is puckered or wavy Solution: Press more! Use steam and really press those seams flat. Proper pressing makes a huge difference.
Problem: Zipper is twisted or won’t close properly Solution: Make sure the zipper was lying flat when you sewed the pouch together. If it’s twisted now, you may need to rip out seams and redo.
Problem: I sewed the pouch with zipper closed! Solution: Carefully use a seam ripper to open a few inches of one seam, turn right side out, then hand-stitch that section closed. Or start over (it happens to everyone!).
Problem: My stitching is visible on the outside Solution: Make sure you’re stitching with right sides together. If stitching still shows, reduce tension or use matching thread.
What to Make Next
Once you’ve mastered the basic pouch, try these progressions:
Level 1 (You Are Here): Basic zippered pouch Level 2: Pouch with flat bottom/gusset Level 3: Pouch with interior pockets Level 4: Pouch with exterior pockets Level 5: Wristlet pouch with detachable strap Level 6: Expandable toiletry bag with multiple compartments
Time Investment
First pouch: 60-90 minutes (taking it slow, learning as you go) Second pouch: 45-60 minutes (more comfortable with technique) Third pouch: 30-45 minutes (getting confident!) After 5-10 pouches: 20-30 minutes (you’re an expert!)
Many experienced sewists can complete a basic pouch in 15-20 minutes once they’ve made dozens.
Cost Analysis: Pouches as Gifts or to Sell
Cost per pouch:
- Fabric scraps: $2-5 (or free from your stash!)
- Zipper: $1-3
- Thread: $0.25 (just a small amount)
- Total: $3-8
Selling price potential:
- Handmade markets/craft fairs: $12-25
- Etsy/online: $15-30
- To friends/family: $10-20
Profit per pouch: $5-20 depending on materials and selling price
Many crafters make pouches as gifts or sell them to offset their sewing hobby costs!
Conclusion: You’re a Pouch-Making Pro!
Congratulations on completing your first zippered fabric pouch! This project taught you several valuable skills:
- Working with zippers (not so scary after all!)
- Pressing seams properly
- Turning projects right side out
- Finishing techniques for professional results
These skills transfer to countless other sewing projects: bags, pillows, clothing with zippers, and more.
The best part? You now have a practical, beautiful handmade item that you can use daily or give as a thoughtful gift.
So what are you waiting for? Grab more fabric scraps and make another pouch. Each one you make will be faster and easier than the last. Before you know it, you’ll be making pouches in your sleep!
Happy sewing! 🪡
Sources and References
- Suzy Quilts. Zipper Pouch Tutorial: How to Sew a Simple Pouch from Scraps. https://suzyquilts.com/zipper-pouch-tutorial/